Bridge Hammock (Review)
Richard Rathe, August 2026 (Camping, Reviews)
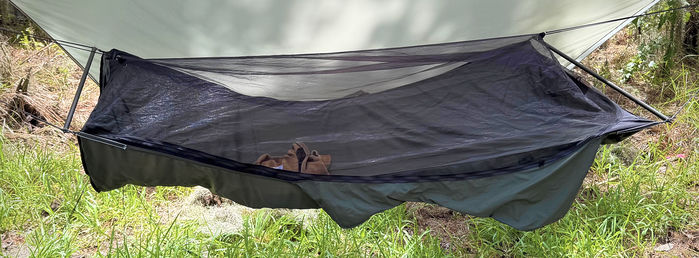
I recently bought a Ridgerunner Hammock from Warbonnet Outdoors. These are my first impressions. I'd been aware of this type of hammock for a few years and I was curious about them. Online descriptions and 2D photos don't really help much. This design makes much more sense when you actually lie in one.
The Basics
Two things jump out when you first set up this hammock—the stout bridges on each end (orange arrows) and the big floppy pockets on both sides (blue arrow). In addition you can see the bug net suspended from shock cords above.
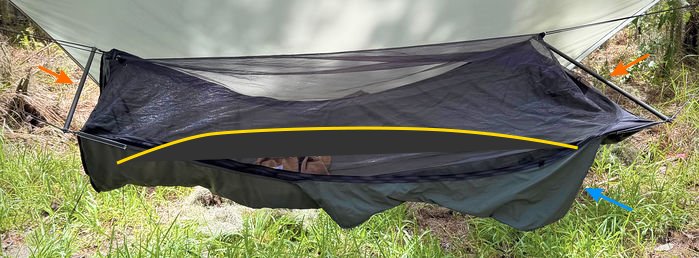
What is less obvious is the anti-banana
shape (which I've approximated with the yellow line). This reverse curve makes the hammock very narrow in the middle and wider at the ends. It feels tippy and constricted at first. The magic occurs when you fully stretch out—the depressed ends rise to match the midsection for an almost flat lie.
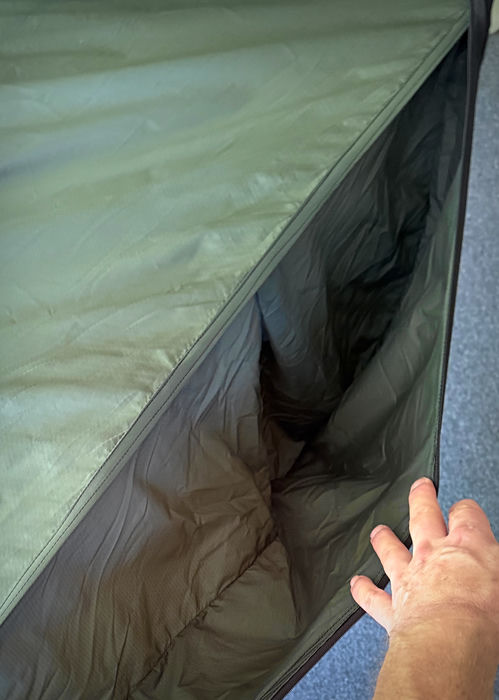
This photo shows the high center
with the netting unzipped and stowed in a dedicated pocket at the foot (near end).
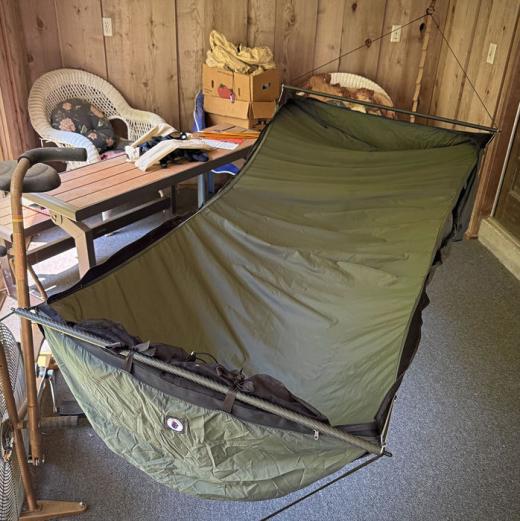
There are two generous gear pockets on either side. These are further divided by a ridge into a smaller and larger portion.
As you can see in the photo below, I'm lying almost flat. A ridge of tension at the head end acts as a built-in pillow. You can adjust this by moving slightly headward or footward as needed. I'm 6'2" and the length is adequate. It would become constrictive if I was any broader at the shoulders however. Side sleeping is also comfortable but you must adjust your position back to the midline after you roll.
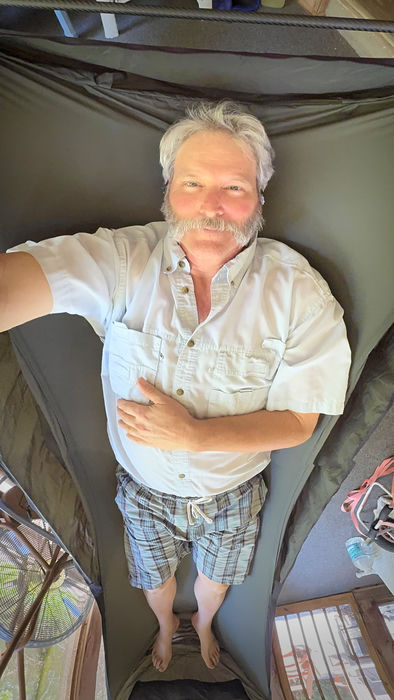
Note the small depression above the head that can be used as a pocket for small items like glasses or a phone. There is a similar larger depression at the foot.
First Real Hang
I moved from my porch to the hammock proving grounds
in my backyard. This hammock did not come with a fly so I borrowed one from another vendor.
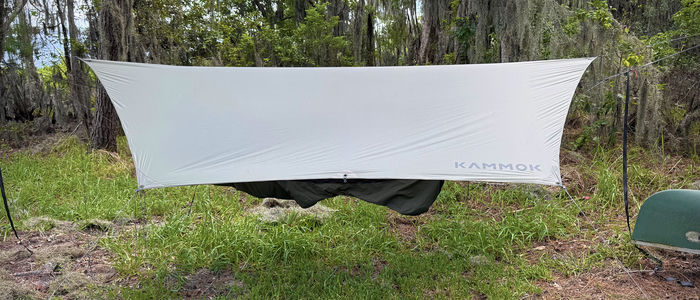
On first glance you'd think this hammock would take up less space between the trees. This is definitely not the case. Because of the long 'Y'-shaped suspension ropes, this hammock requires more hanging space than any of the others I've tried. It would not be a good choice for short hang
situations.
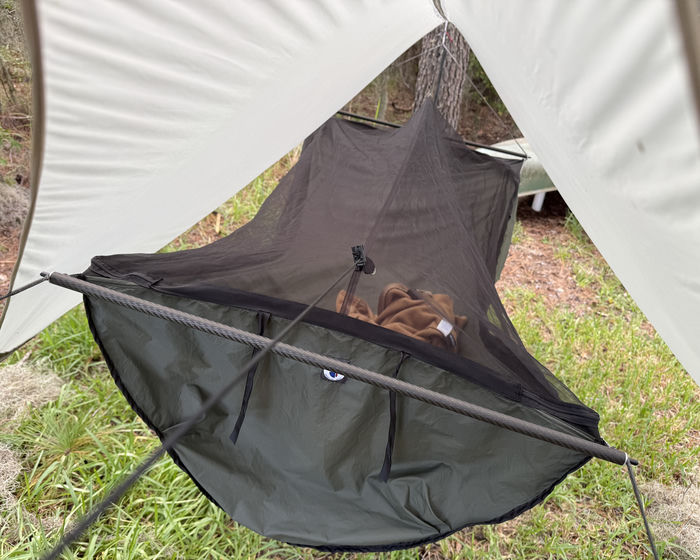
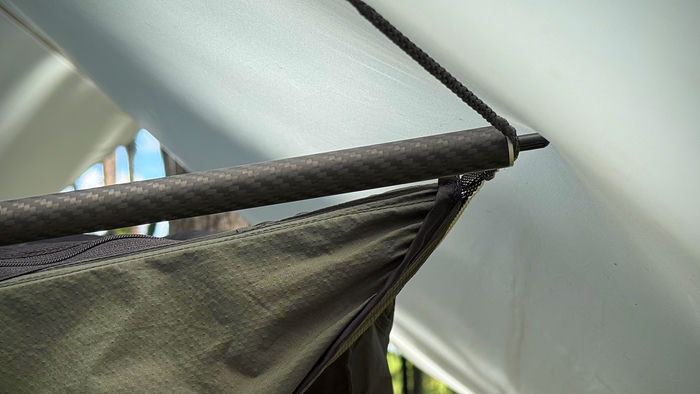
The second issue is how wide it is due to the bridge poles. Unless you pitch the fly high
and open
the poles poke into it. This is not a serious problem when you are in the hammock, pulling it away from the fly. But I'm worried about a windy days and excessive rubbing. Could be a wear & tear issue?
A Vulnerability
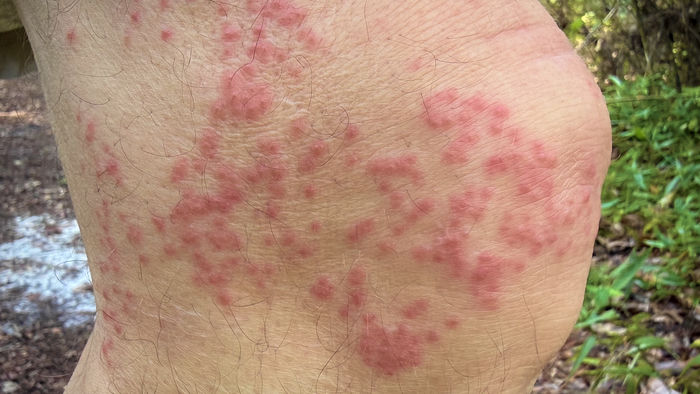
This design has no extra material at the midpoint, so there is nothing to stop your knee or elbow from pressing up against the bug net. While I was asleep I must have bent my knee and the bugs had a feast! This is really only a problem in hotter conditions as the sleeping bag would offer protection.
Suspension
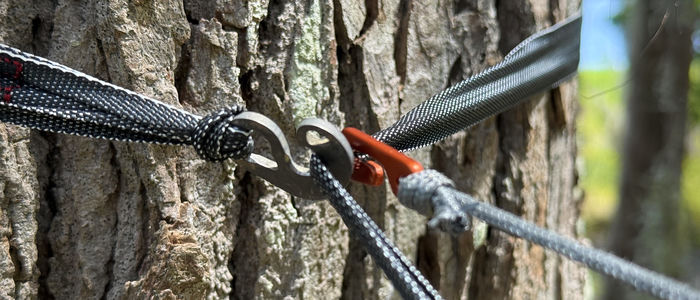
I'm very impressed with the suspension I opted for… Becket Hitch knots on 12ft Dynaweave straps. The straps are incredibly light weight. I invested in two titanium fishhooks
to make rounding the tree easier as show here. (The orange hook is coming from the fly.)
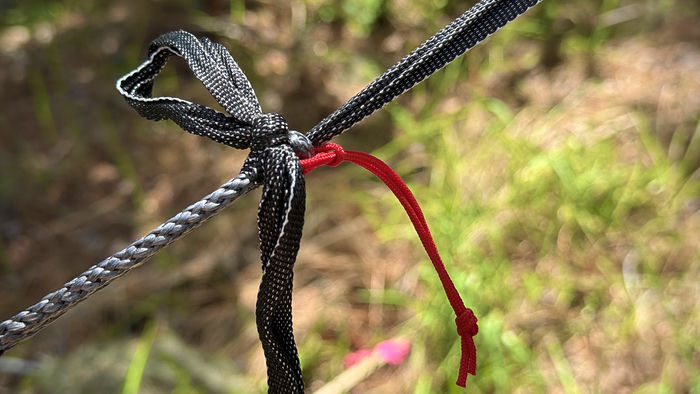
Here is the the strap tied on the hammock loop. The Becket Hitch is both slippery
(a slip knot) and locked
. More on this below. The small red rope is there to facilitate undoing the knot after it's been loaded/compressed.
Becket Hitch
I have to admit that I did not understand the Becket Hitch before now. It is basically a Slipped
Sheet Bend. It works well whether you are using rope or webbing straps BTW.
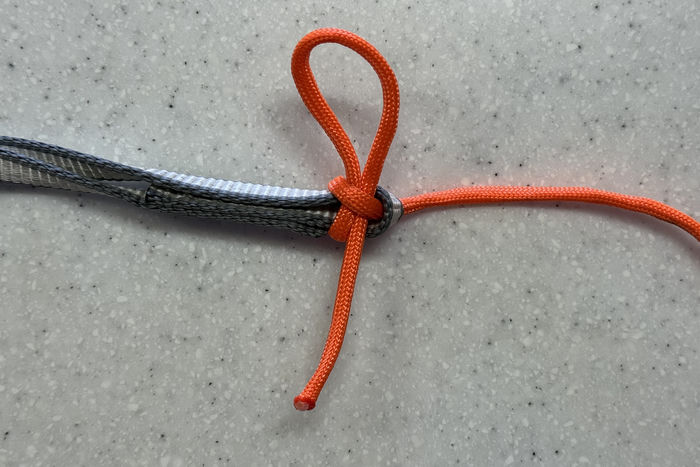
I found out the hard way that the above knot can fail. On my second test I landed on my butt when the strap came undone. For this reason you should tie a second slip knot (the lock
) thru the loop of the first.
Defect
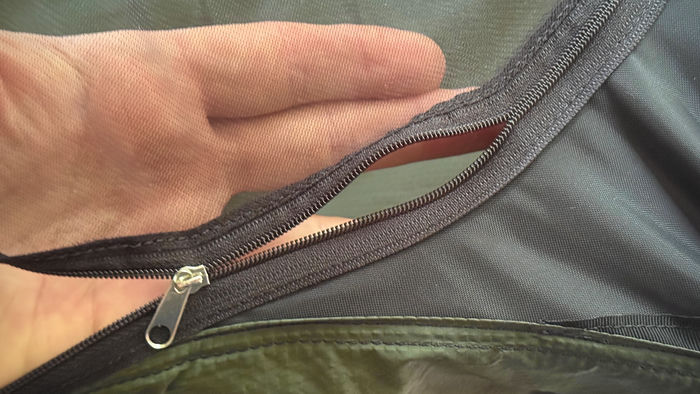
It turned out my new hammock had a defective zipper so the fly could not be closed. I returned it at my own expense and they sent it back in about a week with what appears to be a slightly heavier zipper.